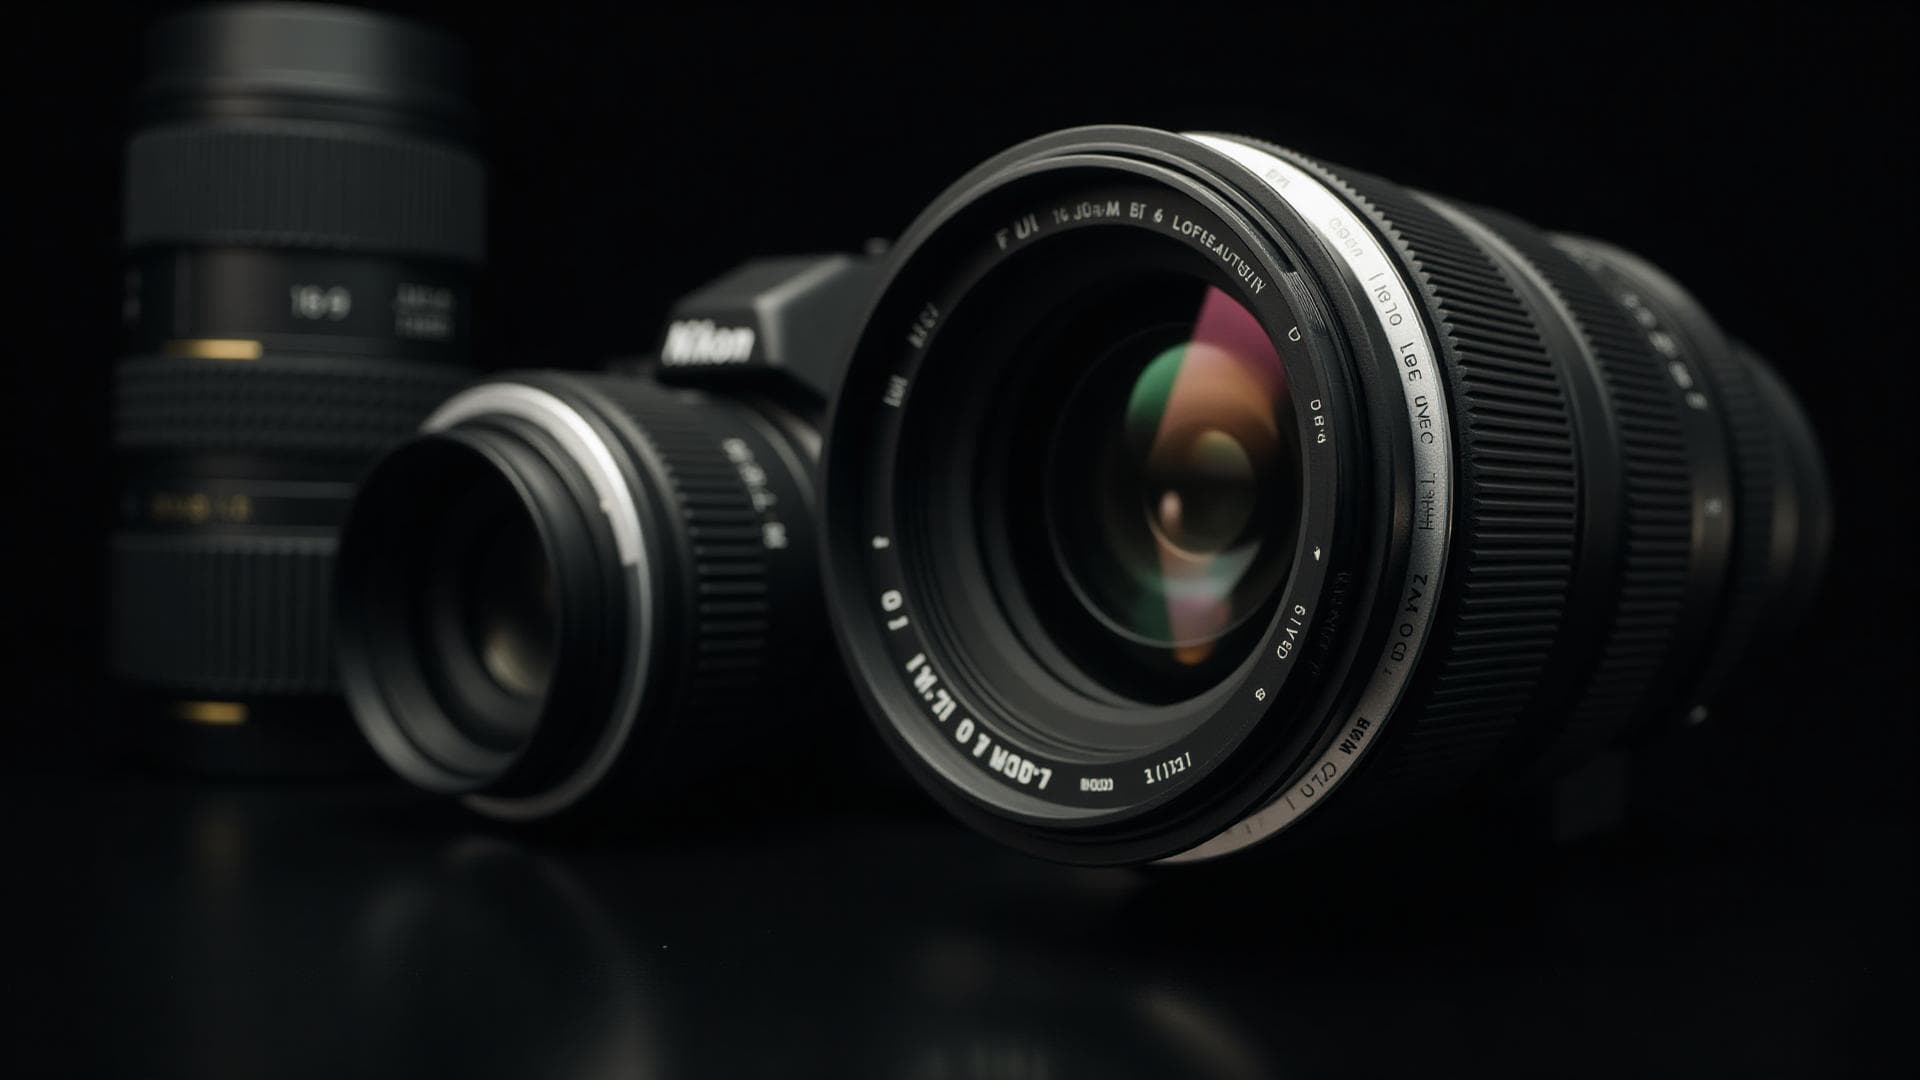
Most Z6 III and Z f owners scroll past Flexible Color Picture Control in the menu without stopping. Sounds like another standard picture control variant, maybe with a few extra sliders.
It's not.
This is an 11-band color grading wheel inside your camera. Independent hue, saturation, and brightness control for each band. The kind of precision you'd normally need Capture One for, except it's happening live in your EVF.
Want to shift oranges toward red for better skin tones without touching the rest of your palette? Crush foliage greens while keeping sky blues saturated? Build a teal-and-orange cinema look that bakes into your JPEGs and video? That's what this does.
Key takeaways
In-camera color grading
Adjust 11 color bands with hue, saturation, and brightness controls right in your camera
Real-time preview
See your color grades instantly in the EVF/LCD as you shoot
Works with JPEG, HEIF, and video
Baked into your files for minimal post-processing
RAW-friendly
Adjustments saved as metadata in NEF files, preserving original data
9 custom slots
Save your favorite looks to C-1 through C-9 for quick recall
Different from Creative Picture Controls
Fully adjustable vs. fixed filter presets
What Exactly Is Flexible Color Picture Control?
Standard Picture Controls (Vivid, Flat, Portrait, Landscape) give you broad strokes—contrast, saturation, sharpening. They're global adjustments.
Flexible Color Picture Control gives you 11 separate color bands. Each one gets three controls:
Hue
– Shift reds toward orange or magenta, push blues toward cyan or purple
Saturation
– Dial intensity up or down for that specific color
Brightness
– Lift or crush individual colors without touching overall exposure
You're essentially running a simplified Lightroom HSL panel inside your camera body. The preview updates live in the EVF or LCD, so you see exactly what you're getting before you press the shutter.
How Does It Differ from Creative Picture Controls?
Creative Picture Controls are Nikon's Instagram-style filters—Dream, Morning, Autumn, Carbon, and the rest. They're preset looks. Fixed. You can nudge them slightly, but the underlying recipe stays locked.
Flexible Color Picture Control is parametric. You start with a base (Flat, Portrait, whatever), then adjust each color band however you want. Save that to one of nine custom slots (C-1 through C-9), and it's yours forever.
One is picking someone else's filter. The other is building your own color signature from scratch.
JPEG, HEIF, Video, and RAW: What Gets Affected?
For JPEG and HEIF
Shoot JPEG or HEIF and your Flexible Color adjustments are baked in permanently. What you see on the LCD is what you get. No take-backs.
For high-volume work—weddings, events, sports—this is a time-saver. Nail your color grade in camera and your files come out ready to deliver. I've watched wedding photographers cut their editing time by 60% this way.
For Video
Video gets the same treatment. Your Flexible Color settings bake into the footage as you record. Monitor it in real-time through the EVF or an external display. What you see is what you'll edit.
For RAW (NEF Files)
RAW shooters get the best of both worlds.
Shoot NEF and the original sensor data stays untouched. Your Flexible Color adjustments save as metadata—instructions attached to the file, not burned into the pixels.
Import into NX Studio (Nikon's free RAW processor) and your color grade appears with one click. But you're not locked in. You can tweak it, replace it, or ignore it completely and process from scratch.
The embedded preview JPEG (what you see on your LCD and in file browsers) does show your Flexible Color grade. So even if you process from zero in NX Studio later, you still have a visual reference for what you were going for when you pressed the shutter.
I shot a portrait series last month with Flexible Color applied—warm oranges, muted greens—then decided in post to go cooler. The original data was there, clean. Changed direction completely without any quality loss.
How to Access and Use Flexible Color Picture Control
Access the Feature
Press the i-button on the back of your camera. Navigate to Set Picture Control. Scroll to Flexible Color and select it.
Or go through the full menu: Photo Shooting Menu → Set Picture Control → Flexible Color.
Choose Your Base
You don't start with Flexible Color in a vacuum. Pick a base Picture Control first, then layer your color adjustments on top.
Flat
– Low contrast, neutral starting point for maximum control
Portrait
– Already tuned for skin tones
Landscape
– Slightly boosted saturation and sharpness
Neutral
– Minimal processing
The base sets your foundation: contrast, sharpness, overall tone curve. Your color tweaks come after.
Adjust the Color Sectors
You'll see a color wheel divided into 11 segments: reds, oranges, yellows, greens, cyans, blues, magentas.
Select a band and adjust:
Hue
– Rotate the color (push reds toward orange or magenta)
Saturation
– More pop or more muted
Brightness
– Lift or darken that color range
Example: shooting portraits and skin tones look too yellow? Select the orange/yellow band, shift hue slightly toward red, drop brightness a notch. Done.
Want that teal-and-orange cinema look? Push blues toward cyan, crank saturation, then warm up the yellows and oranges. The preview updates live in the EVF or on the LCD.
Save Your Custom Picture Control
You've spent 15 minutes dialing in a color grade. Don't lose it.
Manage Picture Control in the menu → Save/Edit → pick a slot (C-1 through C-9) → name it if your camera lets you.
Now it's saved. Recall it anytime.
Practical Use Cases
Portrait Photography
Skin tones looking too yellow under mixed lighting? Shift the orange band toward red. Background greens too aggressive? Desaturate them. You're delivering 200 portraits from a session—getting the color right in camera beats spending three days in Lightroom.
Wedding photographers I know have cut their culling and editing workflow in half using Flexible Color presets.
Landscape Photography
Forest greens can go nuclear on sensor, especially with backlit leaves. Drop their saturation, shift the hue slightly toward yellow, and they look natural again. Boost blues in the sky without turning skin tones into Smurfs.
One preset for autumn warmth (oranges up, reds shifted amber). Another for winter cool (blues toward cyan, saturation pulled back across the board).
Wedding and Event Photography
You're delivering 800 photos from a wedding. Having a consistent color signature baked in from frame one means you're editing for exposure and composition, not fighting color inconsistencies across six different lighting scenarios.
Clients notice the aesthetic consistency. They don't know why it looks good, but they know it does.
Video Work
Run-and-gun documentary work where you're jumping between outdoor midday sun and tungsten-lit interiors? Apply a Flexible Color preset that gives you a film-like base, and your clips cut together without jarring color shifts.
Product Photography
E-commerce clients need brand colors accurate to within a few delta-E. Fine-tune the exact red of a logo, the precise blue of packaging. Flexible Color gets you closer than a global saturation slider ever could.
Tips for Getting the Most Out of It
Start Subtle
First time in the color wheel? You'll be tempted to slam everything to +10. Don't. Small shifts—two or three notches—often look better than cranking sliders to their limits. You can always push harder later.
Build Your Presets in Controlled Light
Test your color grades in good, consistent light first. Understand what each adjustment actually does before you take it into mixed or difficult lighting. A preset dialed in at golden hour might fall apart under fluorescent office lights.
Create Multiple Presets, Not One "Master" Look
C-1: portraits. C-2: landscapes. C-3: golden hour warm. C-4: overcast cool. C-5: product work.
Don't try to build one universal color grade. Build a toolbox.
Watch the Histogram
When you're adjusting brightness for individual colors, you can clip highlights or crush shadows without realizing it. Check your histogram. If you're slamming the yellows up, are you blowing out the sun?
Pair with Auto ISO and AF Settings
A perfect color grade doesn't fix bad exposure or missed focus. Dial in your exposure compensation, Auto ISO range, and AF settings before you worry about color.
Test with RAW+JPEG
Not sure about a look? Shoot RAW+JPEG for a session. You get the instant preview from the JPEG, but the RAW file stays clean if you change your mind later.
Common Mistakes to Avoid
Over-Saturation
Your camera's LCD isn't color-accurate. What looks vibrant on the back screen might look like a neon disaster on a calibrated monitor. Start conservative.
Wrecking Skin Tones
You're tweaking greens to make foliage look better, and suddenly all your portraits have jaundiced skin. Always check what your adjustments are doing to people. A landscape preset can make humans look like corpses.
Forgetting Your Base
Flexible Color layers on top of your base Picture Control. If your colors feel wrong even after adjustments, maybe you need a different base. Switching from Vivid to Flat can solve problems faster than another 15 minutes of color tweaking.
Not Testing in Different Light
Dialed in a perfect look under bright daylight? Great. Now shoot under tungsten. Then fluorescent. Then mixed window light. A color grade that works everywhere is rare. Most photographers need 3-4 presets for different lighting scenarios.
Flexible Color vs. Post-Processing
Neither one wins. They solve different problems.
Use Flexible Color when: - You're delivering hundreds of images and need consistent color - You're shooting JPEG or video (it's baked in) - You want to see your creative vision in the EVF as you shoot - You're trying to minimize desk time
Use post-processing when: - You need pixel-level control or local adjustments - You're compositing or heavy retouching - You're matching specific color values for commercial work (Pantone, brand guidelines) - The lighting was a mess and needs extensive correction
Best workflow? Flexible Color gets you 80-90% of the way in camera. Post-processing handles the last 10%. You get the speed of in-camera processing with the precision of software when you actually need it.
Troubleshooting
My Color Adjustments Look Different on My Computer
Screen calibration. Your camera's LCD isn't accurate. Your laptop screen isn't accurate. Calibrate your monitor with an X-Rite ColorChecker or similar tool. Now you know what your colors actually look like.
The Effect Doesn't Show in My RAW Editor
Lightroom and Capture One don't read Nikon's Flexible Color metadata. Open the NEF in NX Studio, apply your in-camera look, then export to TIFF or JPEG for further editing.
Colors Look Unnatural or Posterized
You pushed too hard. Dial back saturation and brightness. Make smaller hue shifts. Less is more.
Can't Find Flexible Color in the Menu
You need a Z6 III or Z f. Older Z-series bodies (Z5, Z6, Z6 II, Z7, Z7 II) don't have this feature.
Alternatives and Related Features
Creative Picture Controls (Nikon)
Fixed preset looks. Less flexible, faster to apply if you find one that works.
Custom White Balance
Not a substitute for Flexible Color, but essential. Get your white balance right first, then apply color grades.
Sony Creative Styles and Picture Profiles
Sony's version for Alpha cameras. Less granular than Nikon's 11-band system.
Canon Picture Styles
Canon's in-camera color adjustment. More limited than Flexible Color but does the job for Canon shooters.
Frequently Asked Questions
Does Flexible Color Picture Control work with older Nikon Z cameras?
No. Z6 III and Z f only. Older Z bodies (Z5, Z6, Z6 II, Z7, Z7 II) have standard and Creative Picture Controls, but not Flexible Color.
Can I import Picture Controls from other photographers?
Yes. NX Studio exports and imports custom Picture Controls. You can share yours or download presets from other photographers.
Does using Flexible Color Picture Control slow down my camera?
No. No impact on shooting speed, buffer depth, or autofocus. The processing happens during image writing, optimized by the image processor.
Will my Flexible Color settings transfer to video?
Yes. Whatever Flexible Color preset you've selected applies to video exactly as it does to JPEG/HEIF stills.
Can I adjust Flexible Color Picture Controls while shooting?
Yes, through the i-menu. But for fast shooting, save your presets and just switch between C-1 through C-9.
What's the difference between Flexible Color and using LUTs in post?
LUTs are fixed color transformations applied in post (or in-camera on some video-focused bodies). Flexible Color is parametric—you're adjusting specific color bands with individual controls.
Compatible Nikon Z Cameras
As of 2025:
- Nikon Z6 III – Full-frame, 24MP, all-around workhorse
- Nikon Z f – Full-frame retro-styled body, 24MP
Older models (Z5, Z6, Z6 II, Z7, Z7 II, Z8, Z9) don't have this feature. Firmware updates could add it, but Nikon hasn't announced anything.
Final Thoughts
Flexible Color Picture Control rewards experimentation. You won't master it in ten minutes. But once you've built a few custom looks and saved them to your C slots, it becomes part of your workflow.
JPEG shooters get perfect in-camera results. RAW shooters get a solid creative starting point. Videographers get a signature aesthetic without spending hours in DaVinci Resolve.
The Z6 III and Z f have this feature. If you own one, use it. If you don't, it's not a reason to upgrade by itself—but it's a nice bonus when combined with everything else these cameras offer.
Sources & References
- Nikon Z6 III and Z f official documentation
- Nikon Picture Control technical specifications
- Field testing notes
